

This is how I used to brew when I started all grain. I had one propane burner and keggle, one pump, and a mash tun made from a Rubbermaid cooler. While most of the equipment is the same, new items have been added and the entire system has been moved into a more permanent structure so I do not have to perform as much setup and break down as I did before.

Behold the Skull Stache Brewery. While it may not seem like much, this shed contains everything I need to brew 5-10 gallon batches of all grain beer.

And voila! Simply open the doors, perform about one minute of setup and you are ready to brew! I will go over the parts of the brewery in more detail below.
The Control Panel
The control panel consits of two MyPin PID temperature controllers,
four LED rocker switches, one LED status light, and a keyed on/off
switch. There are four electrical outlet sockets on the bottom, two for
the pumps, one for the RIMS heat stick, and on to supply power to the
control box. On the left there is a heat sink attached to a solid state
relay that is used to turn on and off the heat stick in the RIMS tube.


Pumps and RIMS Tube
The brewery consists of two March pumps. These pumps are ideal for brewing because they are magnetic drive pumps. This means that the shaft of the motor is not connected directly to the impeller, but rather they use magnets to drive them. This means that the motors can be left on while the output or input can be blocked or shut of without damaging them.The RIMS tube build and explanation can be found in a link back on the Equipment page.

The two pumps and RIMS tube are attached to a center support and the plugs are fed through the two shelves and plugged into the control panel. The pumps are more or less permanently attached while the RIMS tube is detachable in order to drain it once cleaned as shown below.
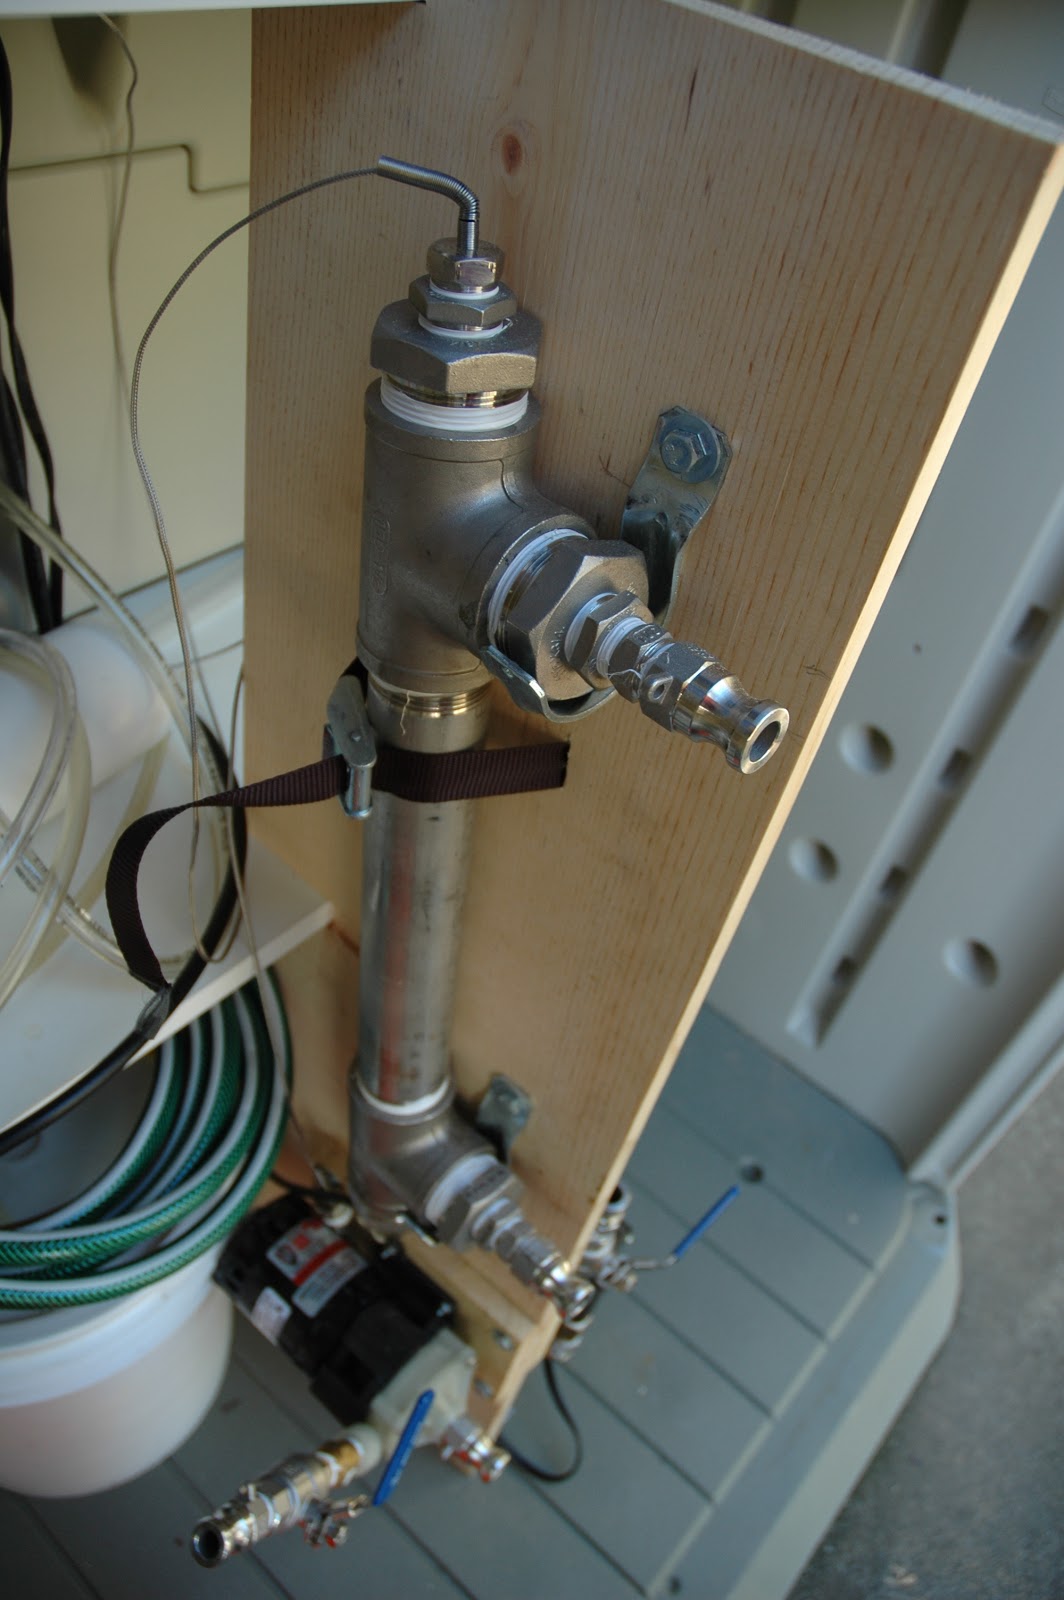

The tube is supported by two hooks and secured with a strap. Simply
remove the strap and the tube can be lifted off and drained in order to
clean it. It is still attached to the control box but having the ability
to empty it is key to prevent water from sitting in it between brews.
The Process
To begin, pull out the burner and keg and begin heating up the
strike water. Once the water is up to the desired temperature as viewed
on the control panel readout, it is pumped up into the mash tun. Here is
it mixed with milled grains and turned into sweet wort.

In order to extract as much sugar from the grains as possible and to
insure consistent brewing practices, the temperature inside the mash
must be monitored and controlled. It is pumped out of the mash tun and
through the RIMS tube. Here, the temperature is checked and heat is
applied by the PID controller if necessary. The wort is then pumped back
on top of the grains and the cycle repeats. Recirculating the wort on
top of the grains also helps to clarify the wort as the grains act as a
filter.

Once the mashing process is complete, the wort is pumped out of the mash tun and back into the kettle. Simultaneously, the hot water from the other cooler is pumped on top of the grains to rinse them. Once the required amount of liquid is collected in the kettle the pumps are shut off and the boiling process can begin.

During the boil, hops and other ingredients are added as specific times according to the recipe. After the boil is finished, the liquid must be cooled quickly. To facilitate this, the wort is pumped through a counterflow wort chiller. This chiller is made from a hose and various pieces of copper pipe. Inside of the hose coil is a copper tube. The wort is pumped through this copper tubing and back into the top of the kettle. While this hot liquid is pumped through the tube, cold water is put through the hose in the opposite direction. The heat is transferred through the copper and into the cold water as they pass each other, thus cooling the wort quickly. I find this process works much quicker than the immersion chiller I had been using in the past.


Cleanup
More water is heated and pumped through both pumps, RIMS tube, and all the silicon tubing to clean out all the sticky wort. The pumps are allowed to drain straight onto the floor of the shed because it is made of rubber and sloped outward. The RIMS tube is drained and placed back on the hooks while the silicon tubes are hung on a hook on the door of the shed and allowed to drain.
No comments:
Post a Comment